03. CodeGenKit Script Generation
In this article, we will learn about a feature that almost every project needs and benefits from: automatic script generation and binding, also known as script generation.
Basic Usage
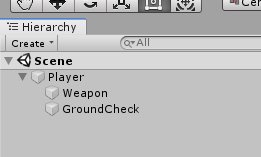
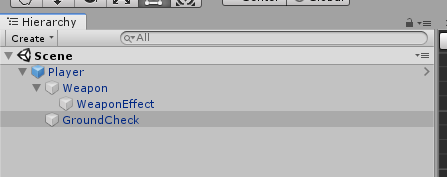
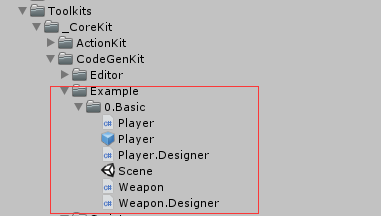
First, let’s create some GameObjects with parent-child structures in the scene, as shown below:
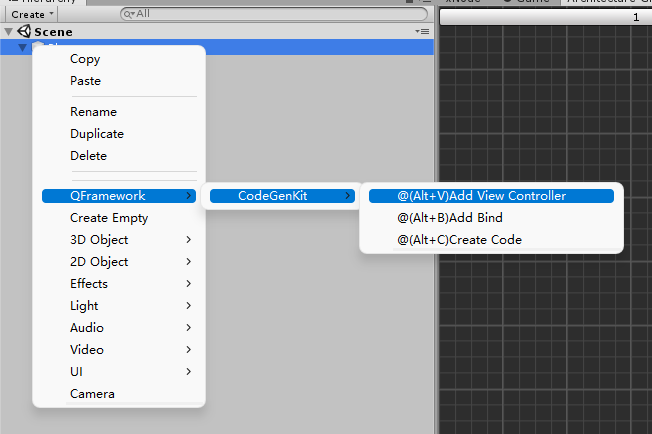
Then, attach a ViewController to the Player using the shortcut key (Alt + V), as shown in the following figure:
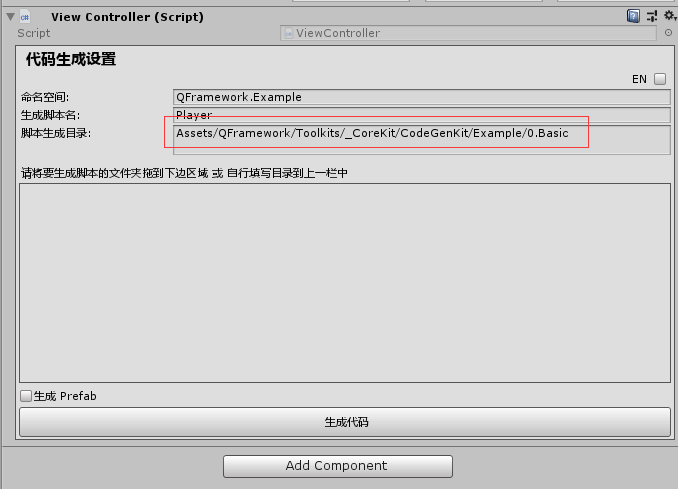
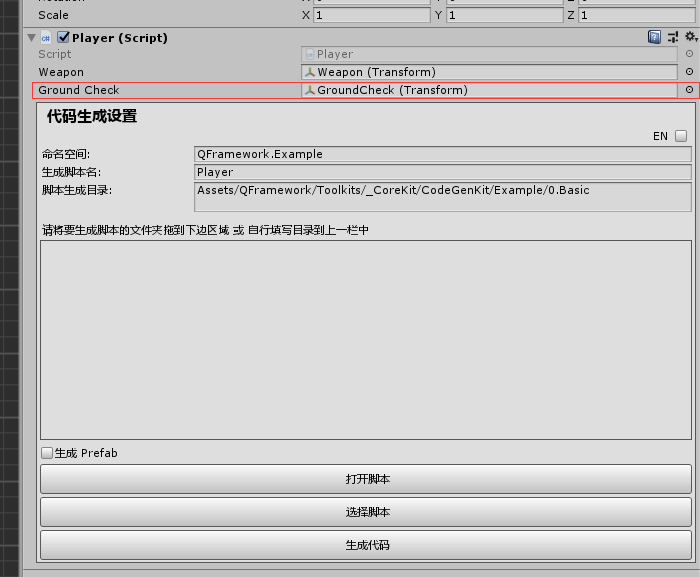
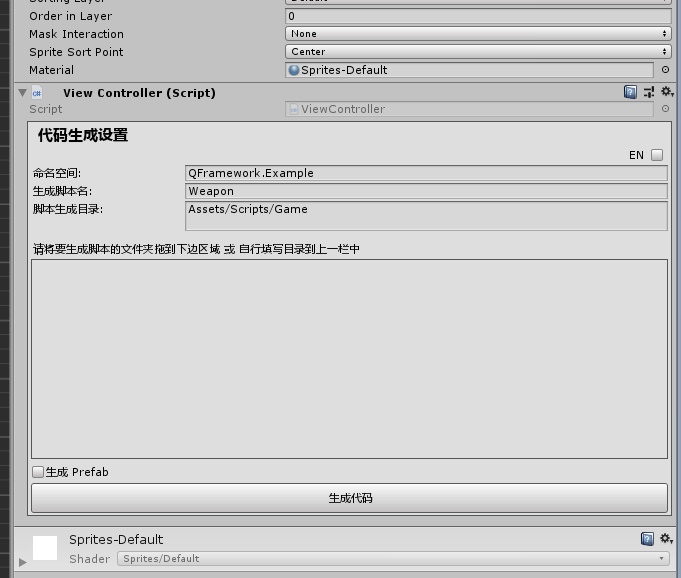
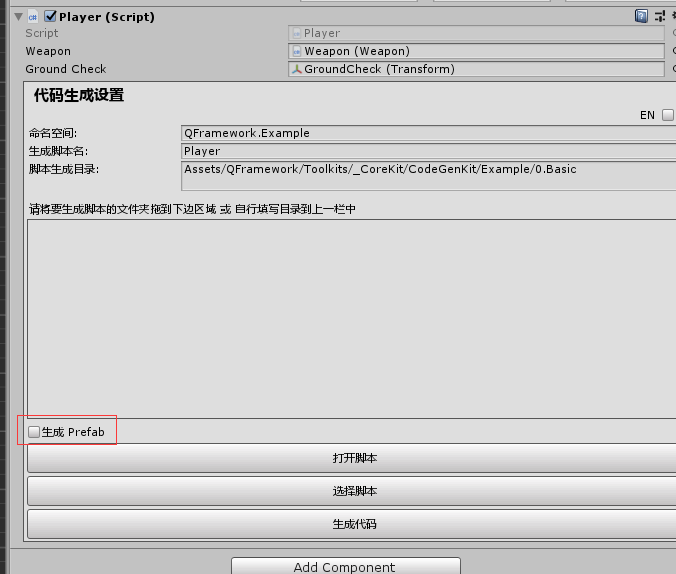
Then fill in the component information that was just added:

Here, you can fill in the namespace, the name of the script to be generated, and the directory where the script will be generated. Of course, you can also drag the directory to the large block directly.
If you drag the directory, the script generation directory will be automatically filled in, as shown in the following figure:
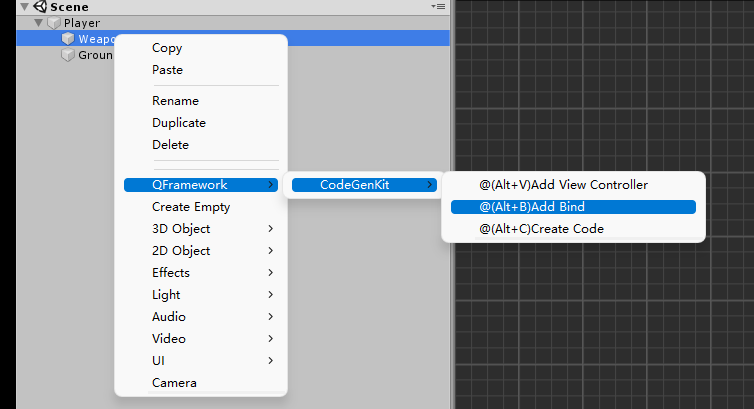
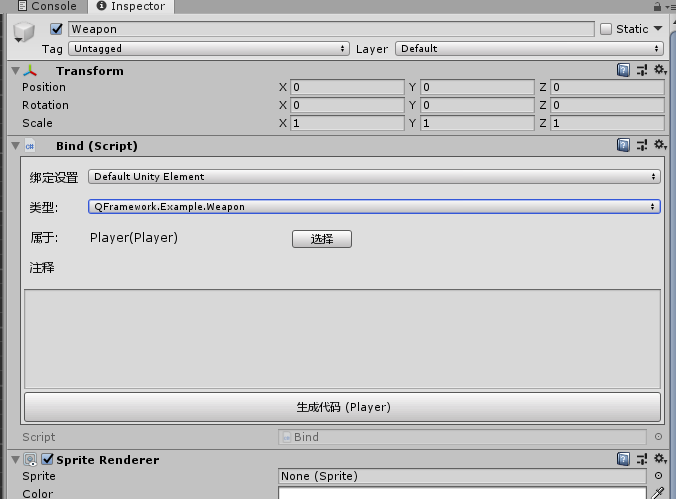
Next, we can attach a Bind component to a child node of the Player GameObject (shortcut key, alt + b), as shown below:
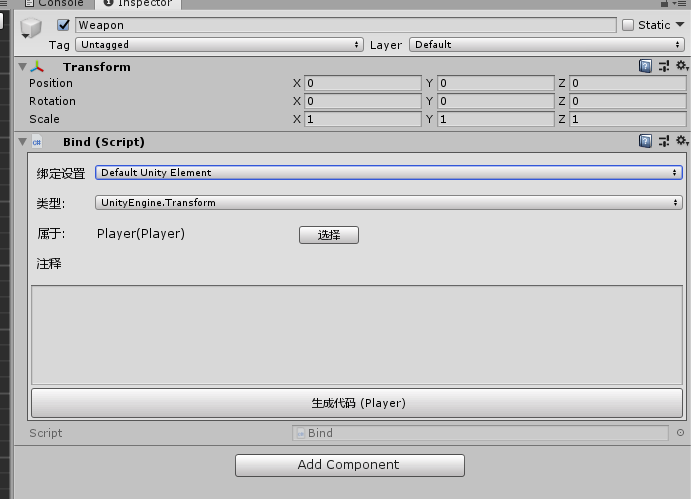
The component attached to Weapon is shown below:
After that, we can click the Generate Code button in the figure or the Generate Code button on the ViewController of the Player, either of which can be clicked.
After clicking, the code will be generated and compiled, and the result is as follows:
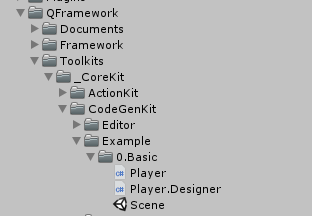
Script directory:
Let’s take a look at the Inspector of the Player in the scene as shown below:

We can see that the Player automatically gets a reference to Weapon.
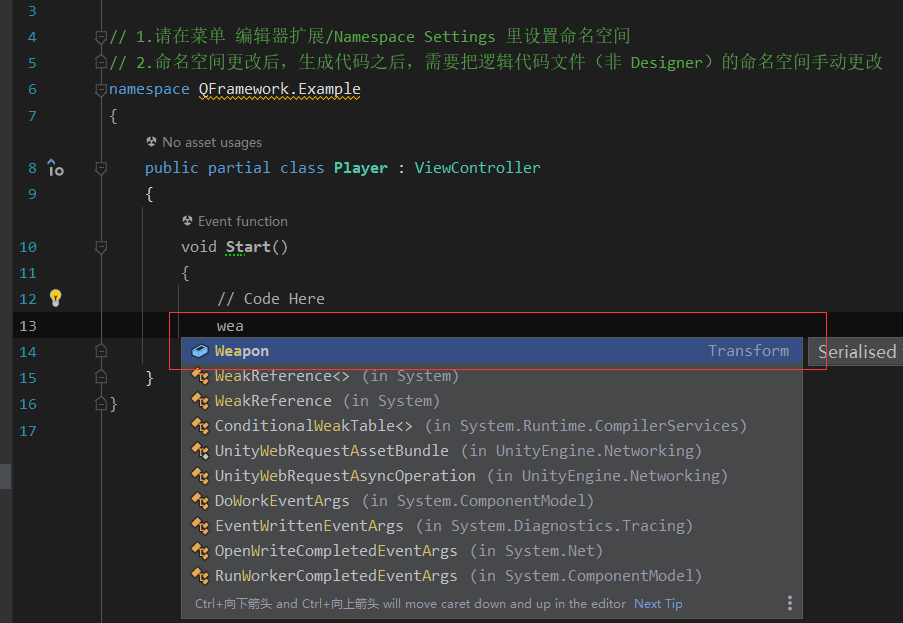
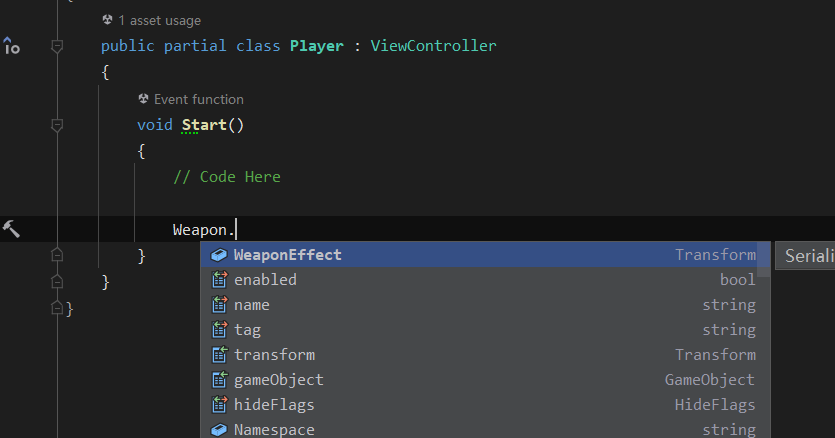
Moreover, Weapon can be accessed directly in Player.cs, as shown in the following figure:
Incremental Generation
Let’s take a look at the directory again:
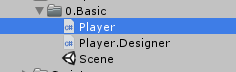
There are two files here, Player and Player.Designer.
Player is used to write logic, so it is only generated once.
Player.Designer will be regenerated every time you click to generate code.
Let’s take a look at the code for Player.Designer:
// Generate Id:471bf5e6-b60b-42b8-b5c8-b070a963ab4ausing UnityEngine;

// 1.请在菜单 编辑器扩展/Namespace Settings 里设置命名空间
// 2.命名空间更改后,生成代码之后,需要把逻辑代码文件(非 Designer)的命名空间手动更改
namespace QFramework.Example
{
    public partial class Player
    {

        public Transform Weapon;

    }
}
There is only one Weapon in the code.
Next, we attach the Bind script to another child GameObject of Player, as follows:

Then click to generate the code, as follows:

After generating, the result is as follows:
Player has an additional Ground Check.
Let’s take a look at the code for Player.Designer:
// Generate Id:f512c2ed-6243-4a89-897e-bdaaabe50d63using UnityEngine;

// 1.请在菜单 编辑器扩展/Namespace Settings 里设置命名空间
// 2.命名空间更改后,生成代码之后,需要把逻辑代码文件(非 Designer)的命名空间手动更改
namespace QFramework.Example
{
    public partial class Player
    {

        public Transform Weapon;

        public Transform GroundCheck;

    }
}
This time there is an additional GroundCheck.
The code for Player has not changed.
So every time the code is generated, Player.cs is only generated once, and Player.Designer.cs is regenerated every time, so you can safely write code in Player.cs.
Type Selection
Previously, we bound GameObjects of type Transform using Bind. This time, let’s try binding other types.
We attach a Sprite Renderer to the Weapon GameObject as shown below:

Then, we click on the Bind type, and it displays as follows:
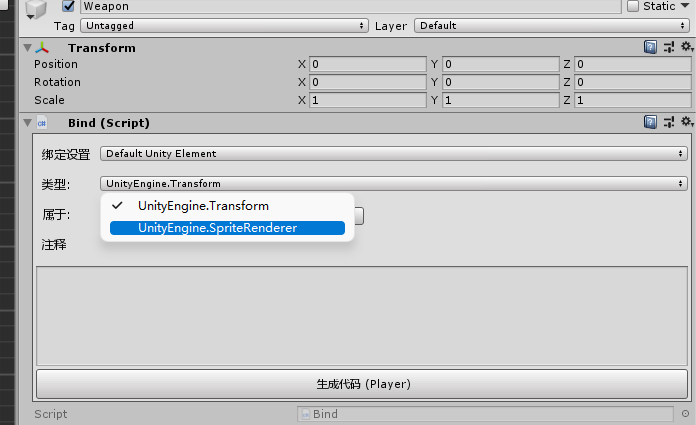
That is to say, Bind can select the components attached to this GameObject.
We select the Sprite Render type, as follows:
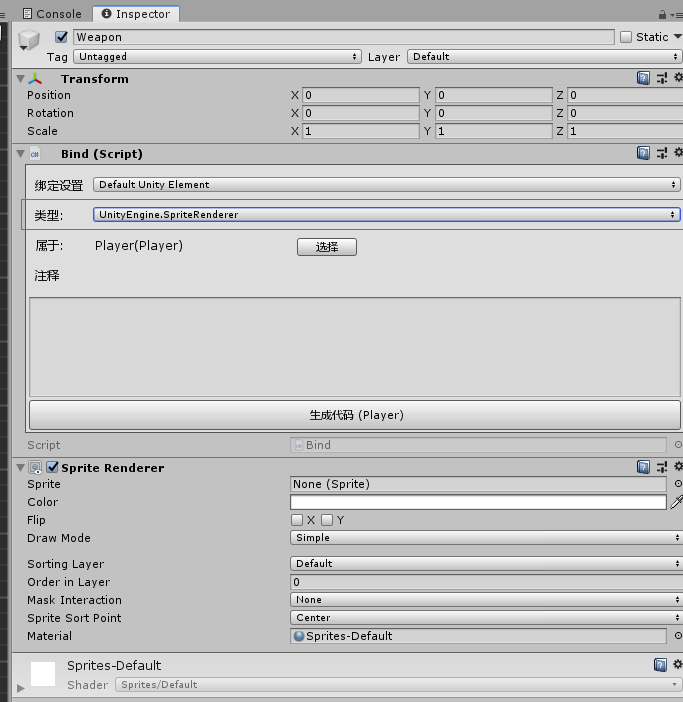
Then click to generate the code, and the result is as follows:

The Weapon referenced by Player has changed from Transform type to Sprite Renderer type.
The code for Player.Designer.cs has changed to the following:
// Generate Id:de59e915-d1b6-40aa-a8e5-6fc4a8bf8e3eusing UnityEngine;

// 1.请在菜单 编辑器扩展/Namespace Settings 里设置命名空间
// 2.命名空间更改后,生成代码之后,需要把逻辑代码文件(非 Designer)的命名空间手动更改
namespace QFramework.Example
{
    public partial class Player
    {

        public UnityEngine.SpriteRenderer Weapon;

        public Transform GroundCheck;

    }
}
Weapon has changed from Transform type to SpriteRenderer type.
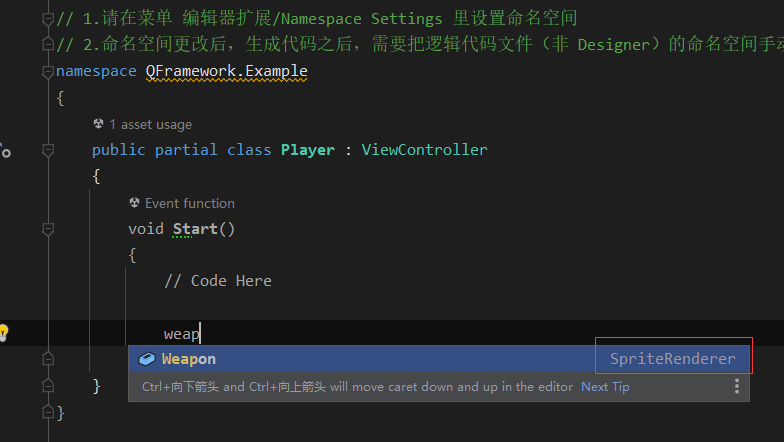
Now we can get the Weapon of type SpriteRenderer in Player.cs, as shown in the following figure:
How to set the default namespace and script generation directory
It’s simple, open the QFramework editor panel (shortcut key: ctrl + e or ctrl + shift + e).
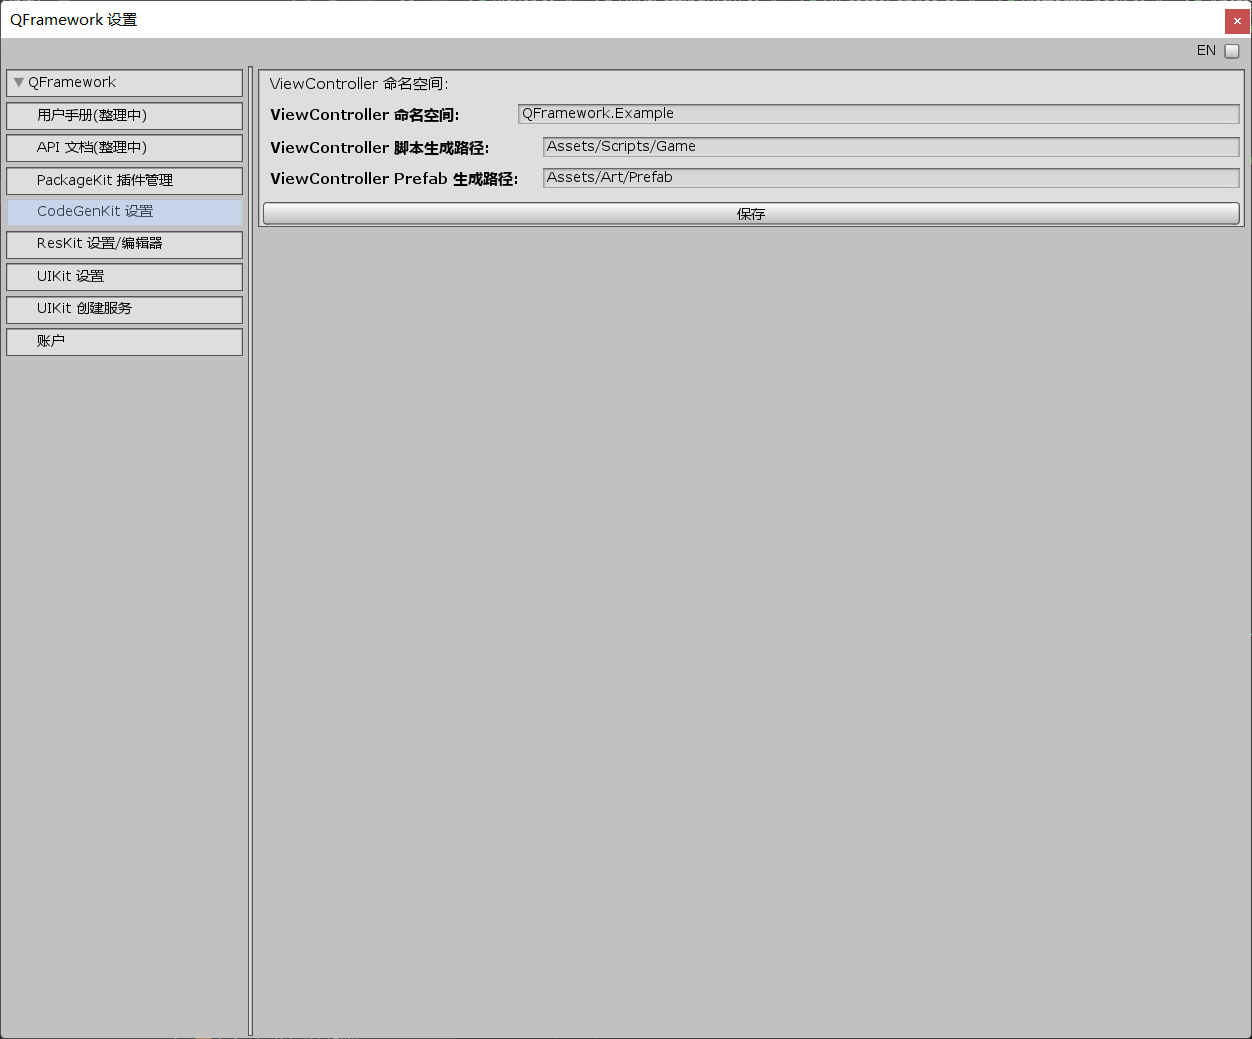
You can change the default namespace and default script generation location in the CodeGenKit settings.
Of course, you can also set it in the ViewController Inspector.
First, let’s change the namespace and script generation path as follows:
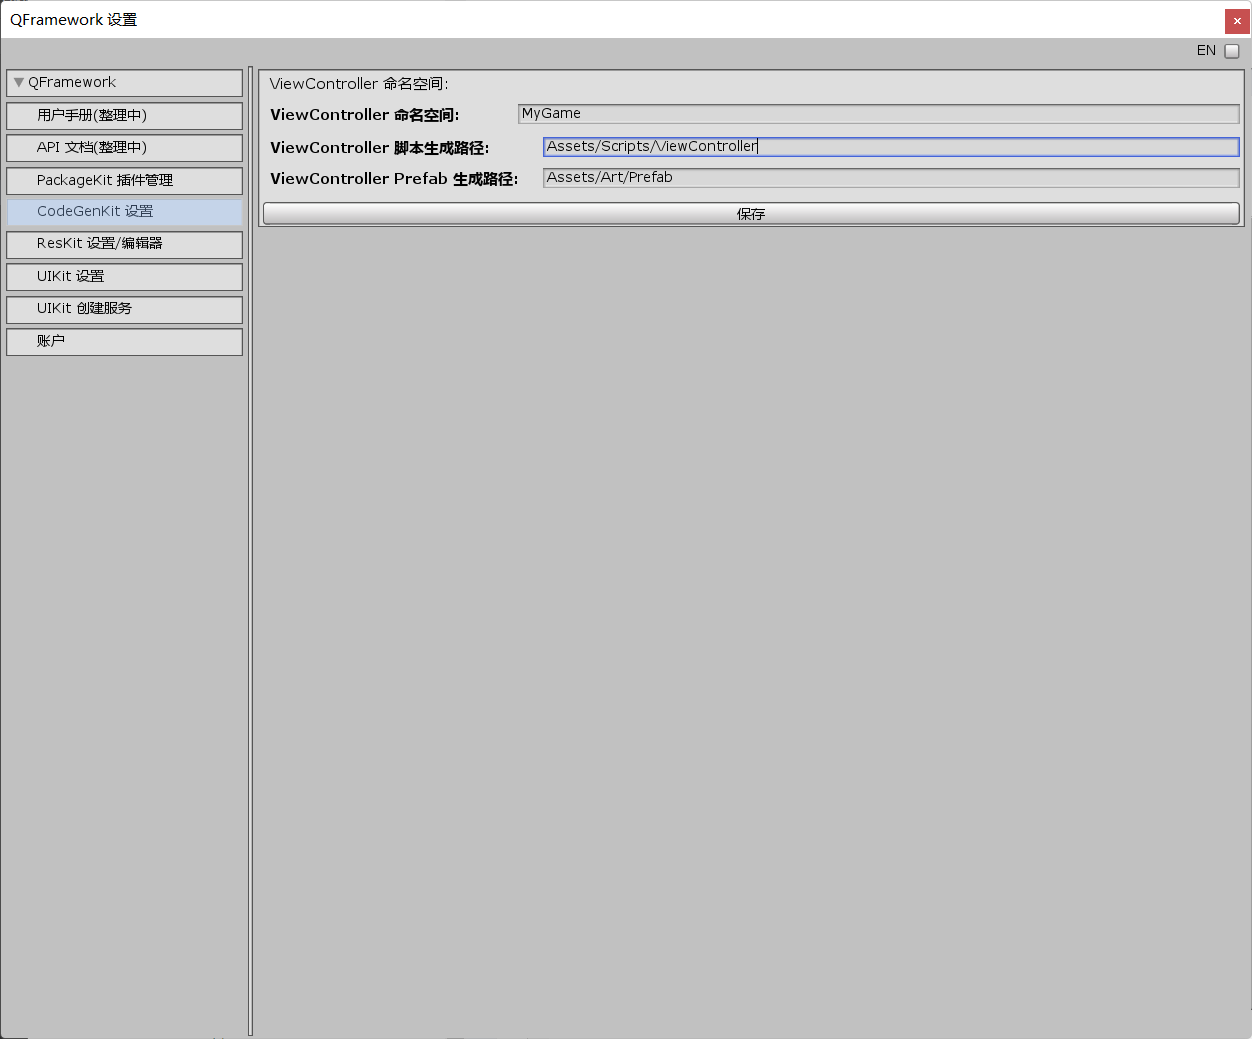
Then we create a GameObject and add the ViewController component to it, and the result is as follows:

This way, the default namespace takes effect.
ViewController and ViewController nesting
ViewController can be nested with ViewController.
We create a WeaponEffect GameObject in the Player’s Weapon GameObject as follows:

Then add the Bind script to WeaponEffect, as follows:

Then add the ViewController script to Weapon, as follows:
Let’s change the script generation directory to the same directory as Player.cs, as follows:

Click Generate Code, as shown below:

After the generation is complete, let’s change the Bind type on Weapon to Weapon, as follows:
Then click Generate Code on Bind, and the result is as follows:

This way, the ViewController is nested and bound to the ViewController.
In Player.cs, you can call the child GameObject of Weapon as follows:
Of course, you can also write Weapon’s own logic in Weapon.cs.
Generate Prefab
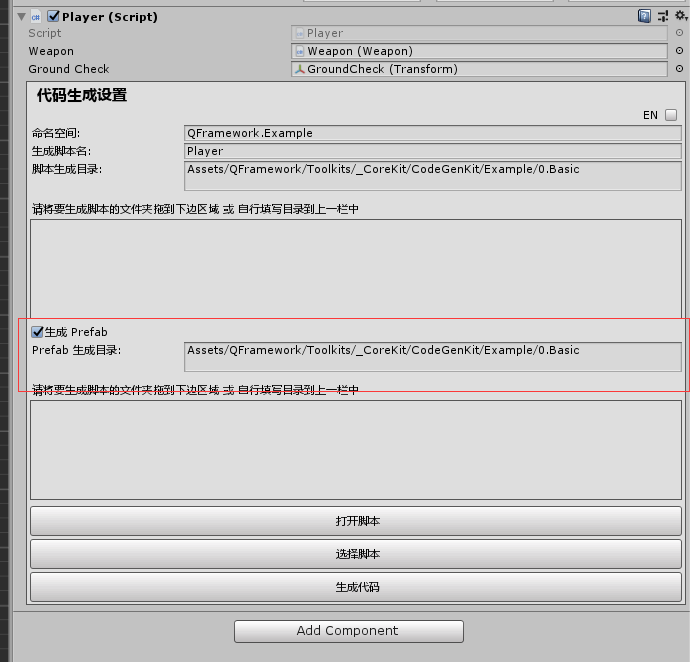
In the ViewController or the Inspector of the generation script, there is an option to generate a prefab.
After checking it, it will be shown as follows:

Here, you can modify the directory to be generated. The author chooses to be consistent with the directory generated by the script, as follows:
Then click to generate the code, and the result is as follows:
The Player in the scene becomes a prefab.
The prefab is also in the generated directory.
Why?
Why create a CodeGenKit?
Because creating script directories, creating script files, declaring member variables or getting references to child nodes through transform.Find, then attaching scripts, and drag-and-drop assignments are all very time-consuming and cumbersome. If we can optimize this part of the workload through code generation and automatic assignment, the development efficiency of the project will be greatly improved.
The ViewController in CodeGenKit can not only be used for ordinary GameObjects, but also supports UI components such as NGUI and UGUI.
Well, that’s all about the introduction of script generation.